
This is a good place to start.
I say that because you will not be making mastercrafted boules and baguettes until you’ve made like a hundred, or a thousand maybe.
That is why breadmaking is an art. It takes practice. I’m still learning every time. There is so much awesome knowledge out there.
Worst case if your bread messes up, you can just use it for breadcrumbs in another recipe!
I’m still working on getting an active sourdough starter. Until then I use an active dry yeast preferment to start things off. It still gives amazing flavor and texture, without all the fuss.
Breadmaking is like anything else, everyone has an opinion. Some believe you need to exactly weigh out ingredients. Personally I just measure because back in the day there were no digital scales in the homestead. Their bread was amazing I’m sure. Find what works for you and run with it.
Poolish
We will start with a poolish, or preferment to help kick start your bread. This is a really simple one I use.
In a medium sized mixing bowl combine 1 1/2 cups warm water and 1/2 tspn active dry yeast. Stir it around and let it sit for about 5 minutes or until it looks nice and foamy. Then mix in 2 cups of bread flour. This will be a somewhat soupy mixture. Cover loosely and let it sit overnight. The next morning it should be nice and bubbly with a good tangy smell. The longest I would let this go sitting on the counter is about 12-14 hours tops.

The First Proof
Now that your poolish is nice and active, we can get this baby started.
Go ahead and stir your poolish around and get it mixed back up. Add 1 cup of warm water and 1 tspn of active dry yeast. stir it all together and give it another 5 minutes or so before you add anything else.
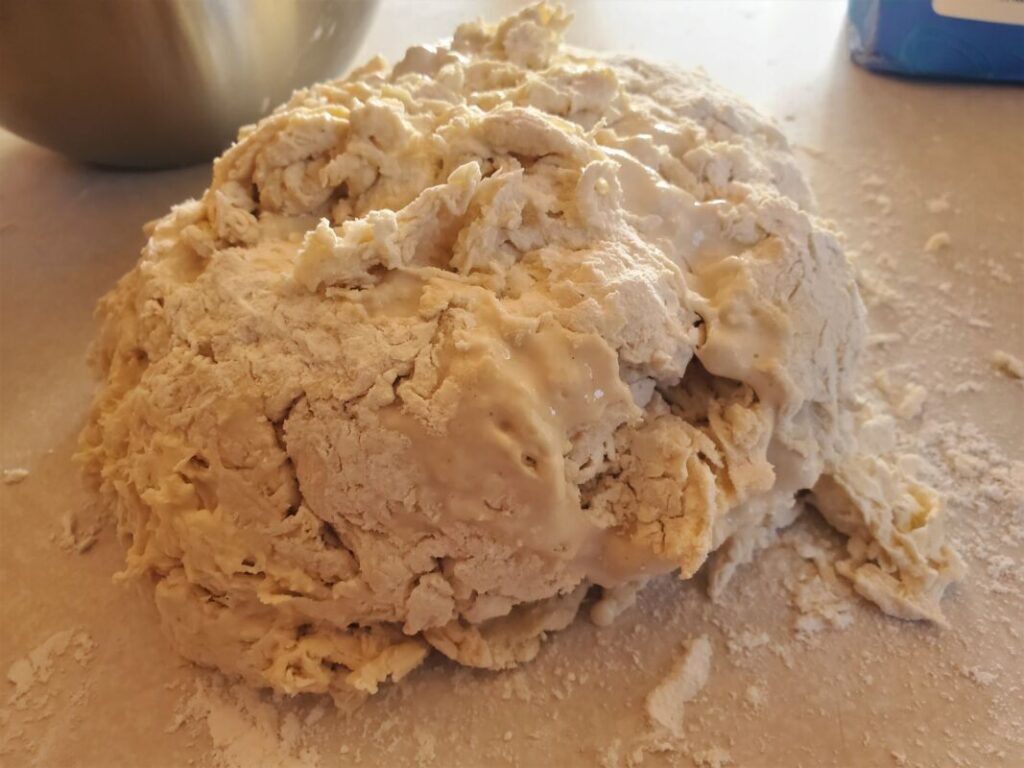
Now add 3 1/2 cups of bread flour and 2 tspn salt. Mix it all together. It’s going to be a rough shaggy mess, so don’t worry. You just want most of the liquid to be absorbed before you dump it on the counter. A rubber spatula is great for mixing it in the bowl, and a bench scraper is a great tool to have while you’re working on the counter.

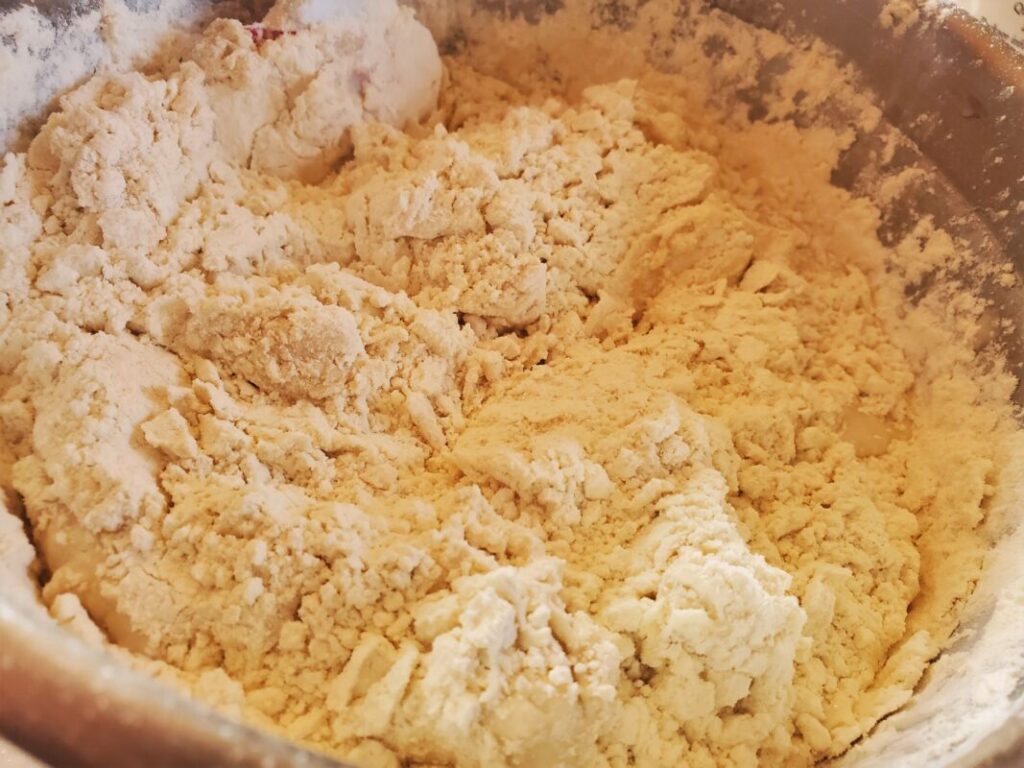
- DO NOT add additional flour to your dough in hopes that it will make it less sticky. Extra flour will just make your dough extra dense and mess it up in the long run.
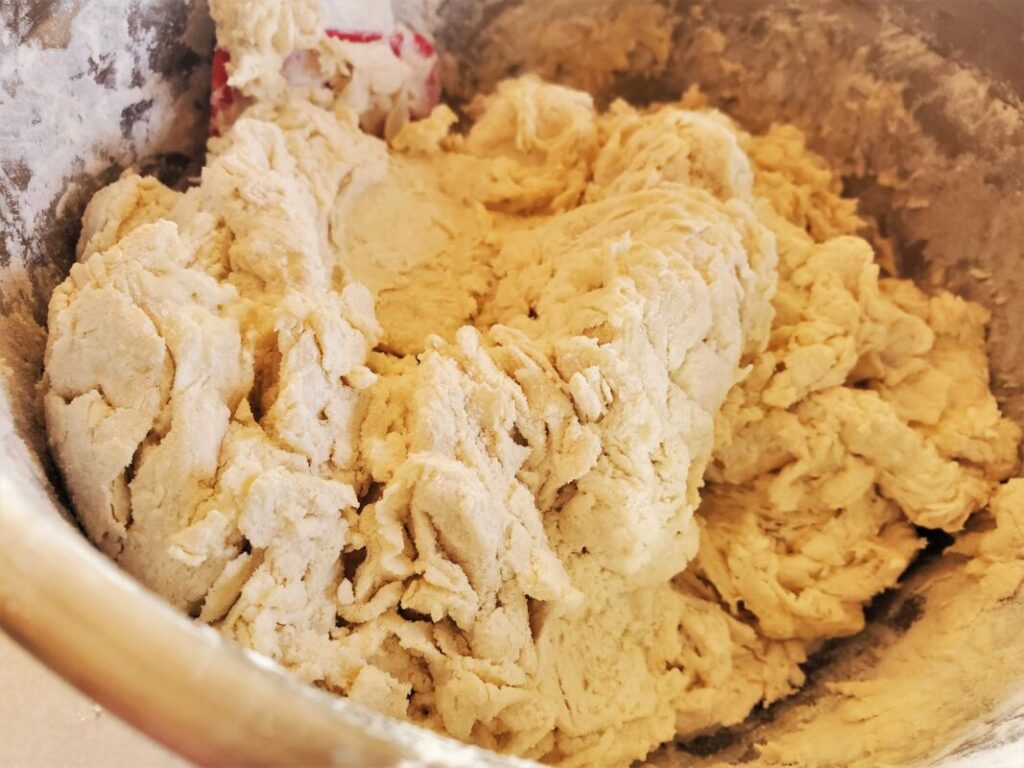
This is where the work comes in. You’re gonna knead it, and knead it, and knead it. The more you fold it and knead it, the less sticky it will get. It will start to become more smooth and silky and actually take shape.
Don’t worry about over kneading. You will probably under knead it before you will over knead it. So work that dough.
You will know when it is ready by checking it’s elasticity. Tear off a small piece and work it thin with your finger tips. It shouldn’t tear when stretched thin. That’s when you know your gluten is worked nicely.
Here’s a link to one of my favorite bread makers on YouTube. He goes more in depth of the entire process with sourdough. The same guidelines and techniques pretty much apply to making this dough as well.
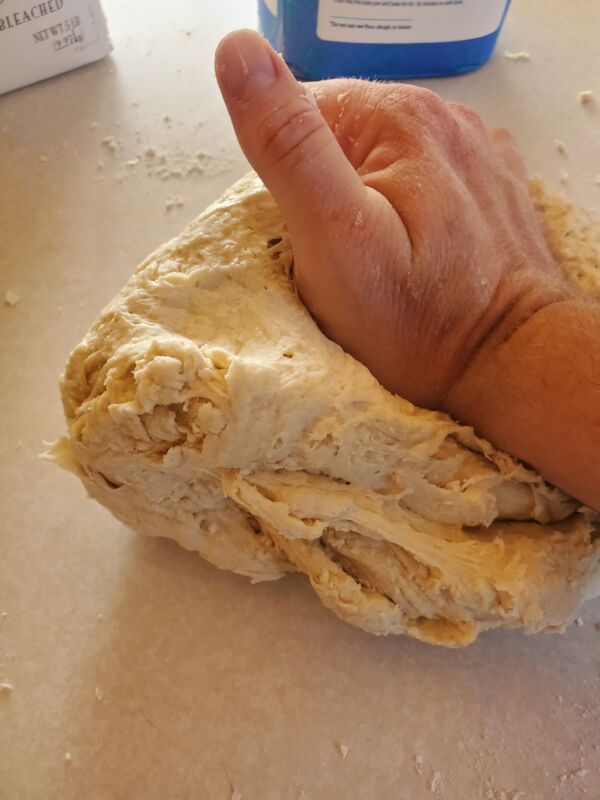

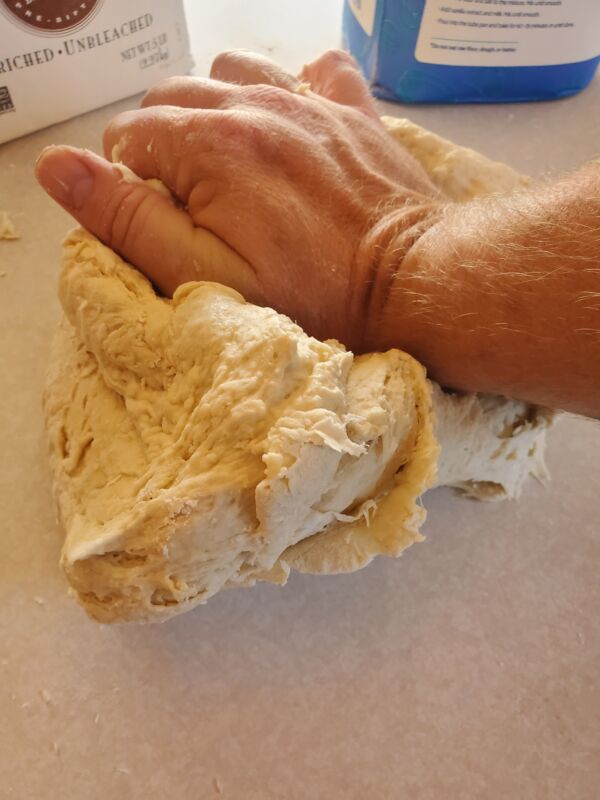
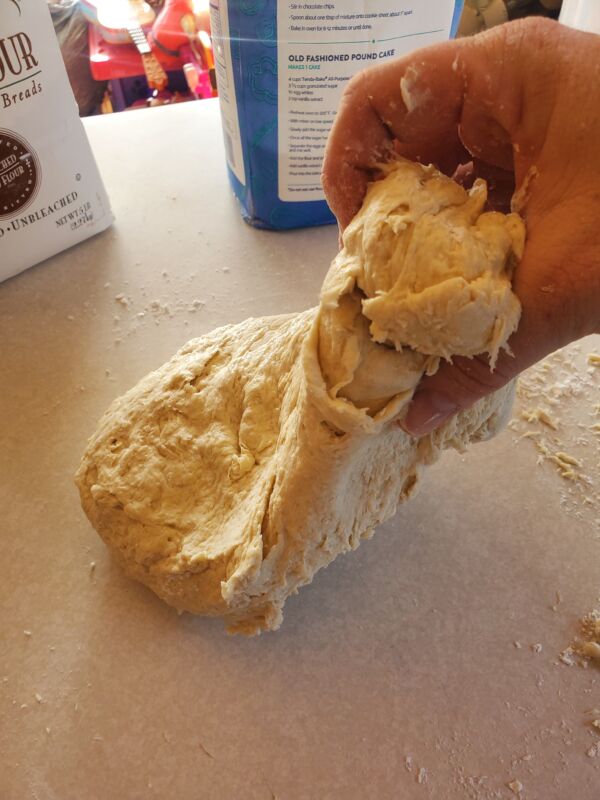
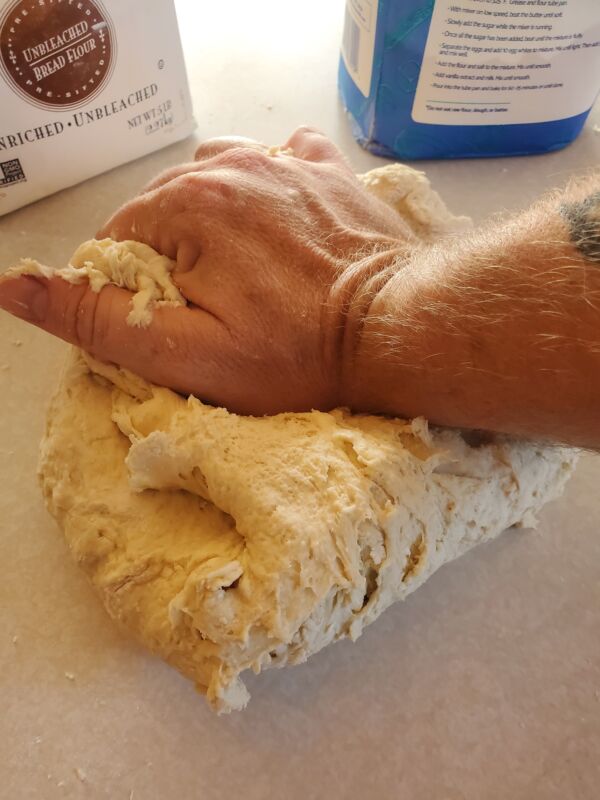
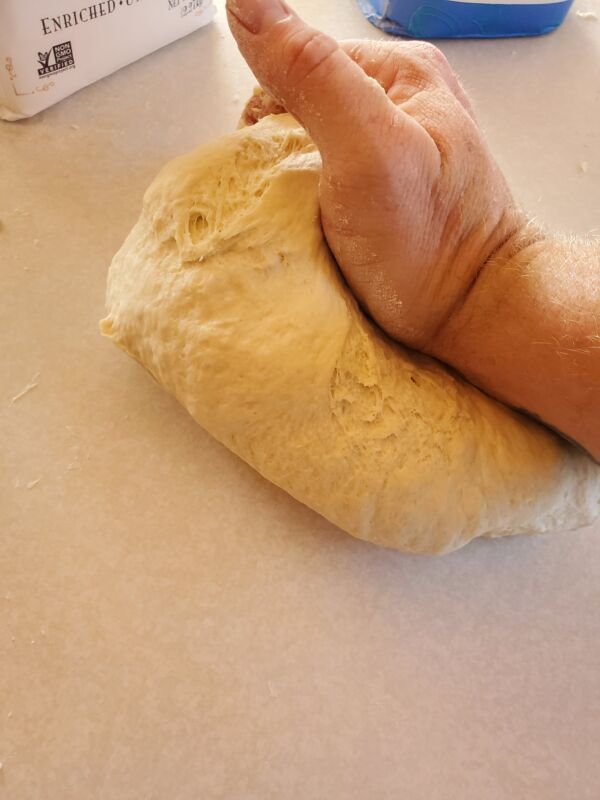

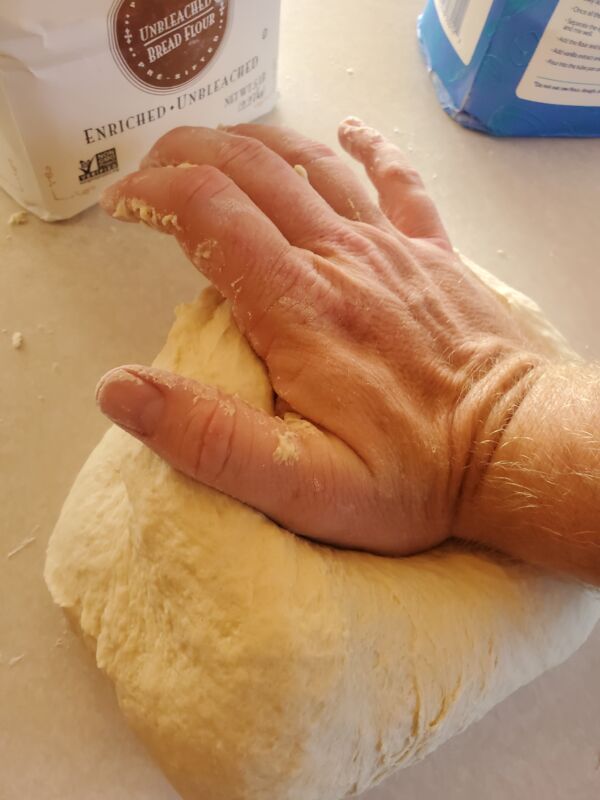
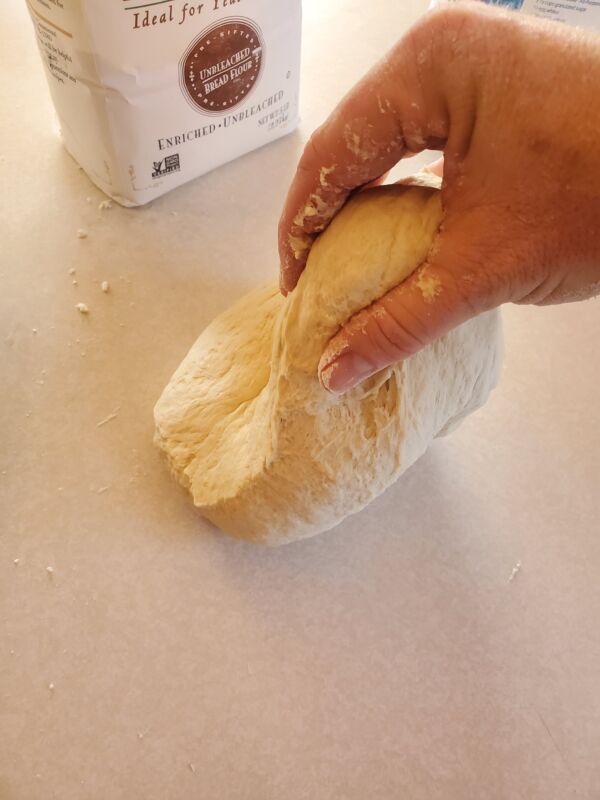
You get the point on the kneading right? You can see how the dough gets smoother as it gets worked over.
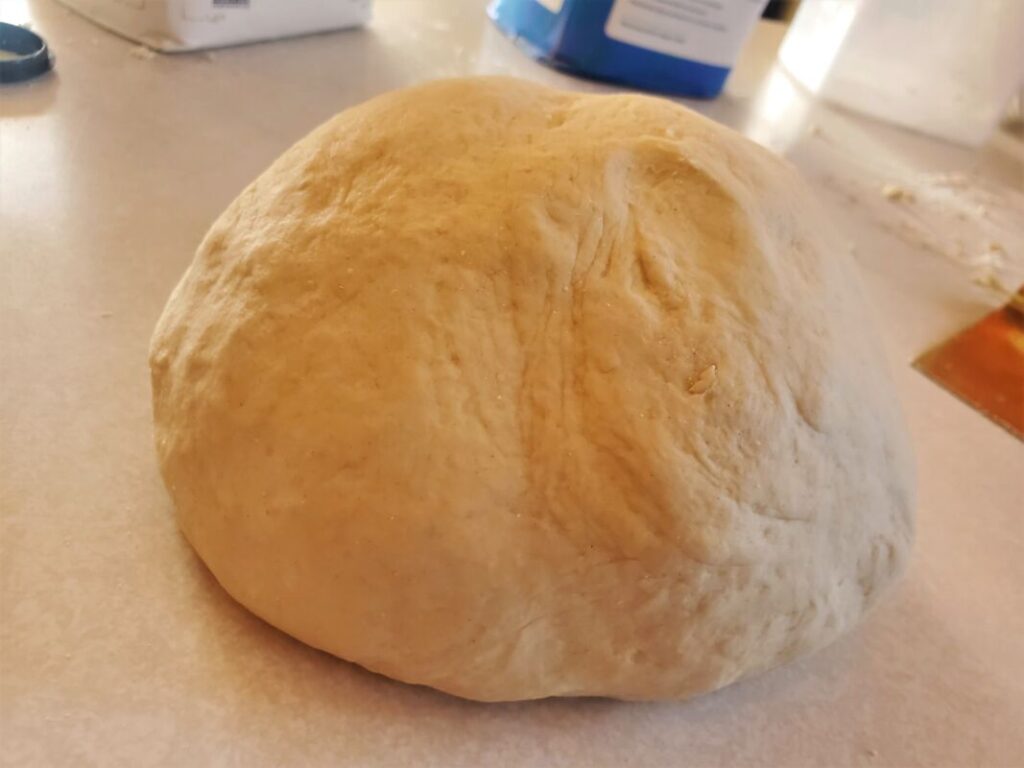
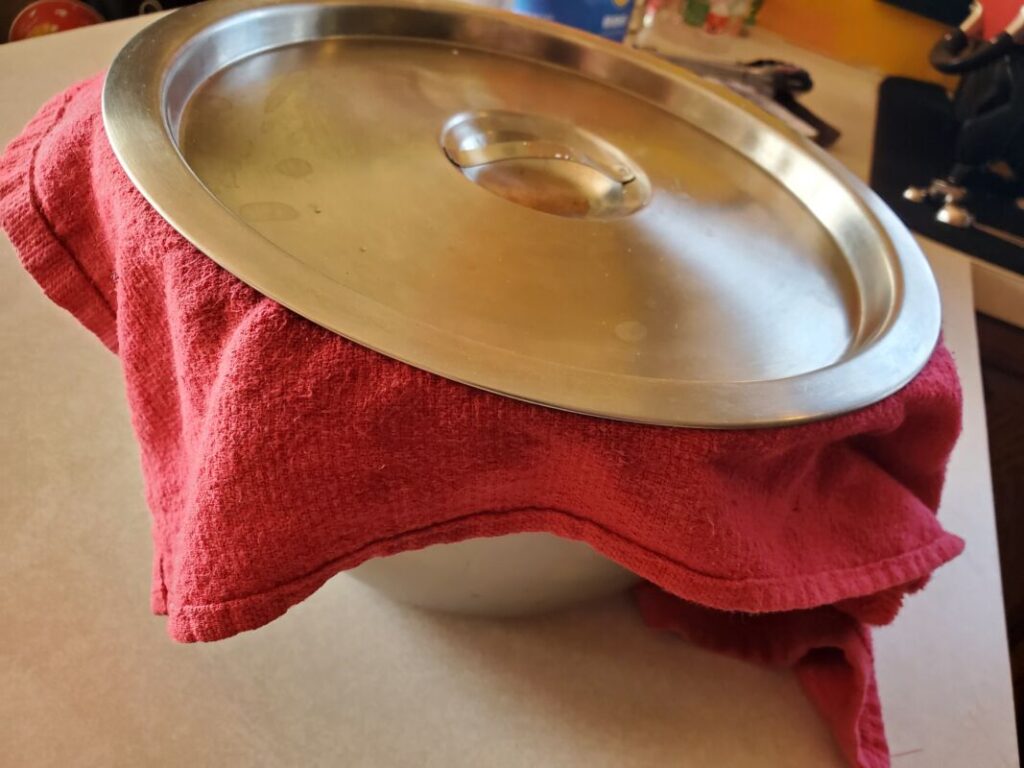
When your dough is good to go, place it back in the bowl and cover it with a lid, damp towel, or even plastic wrap. I rub the ball down lightly with olive oil to help keep it from forming a dry crust as it rises. Set a timer for one hour and it should be doubled by now and ready for the second proof.
Proofing (or proving) means just letting the dough rest and rise before it gets baked.
Shaping the Dough
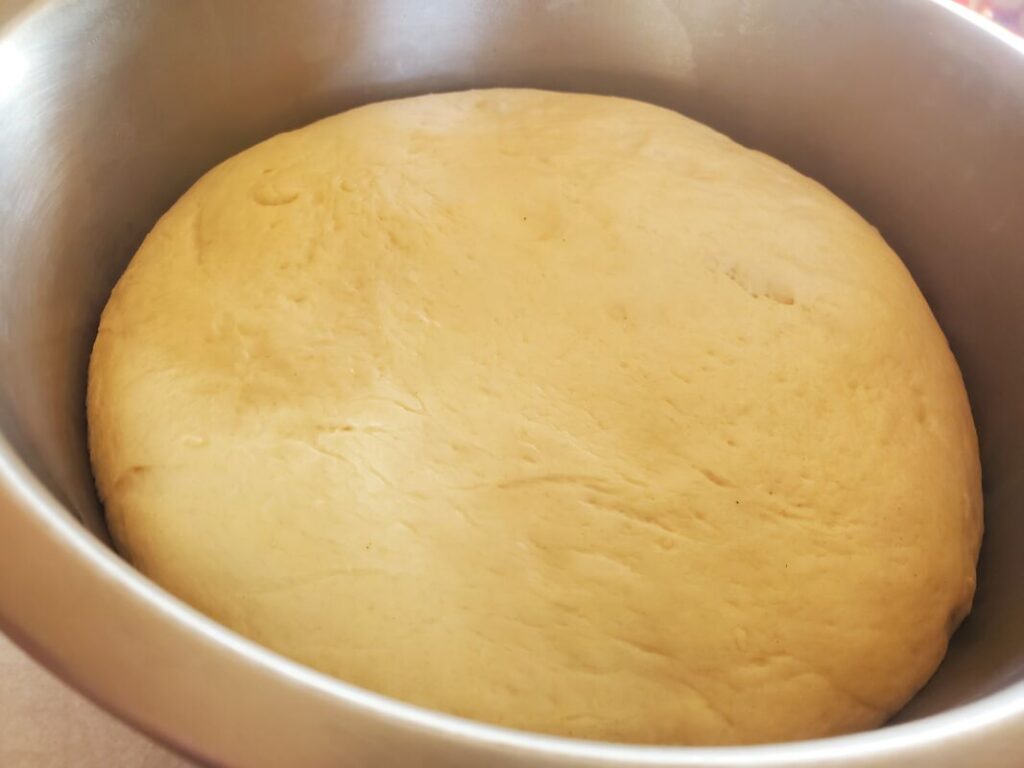
Your dough should have doubled in size now.
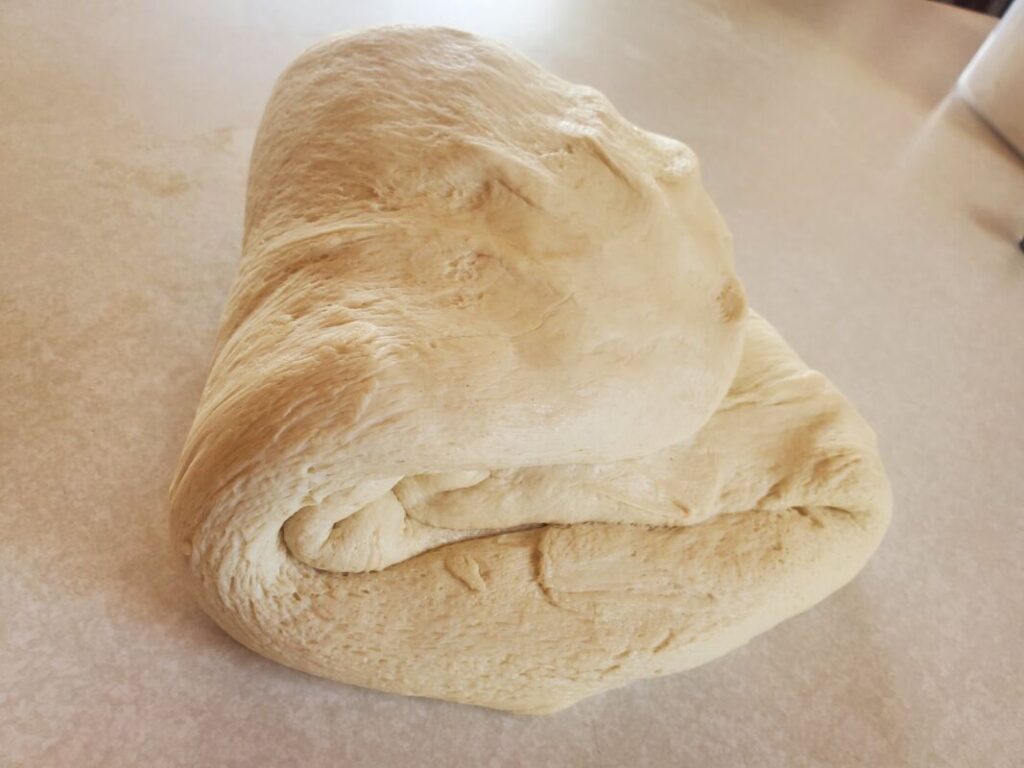
Go ahead and dump it back on the counter and fold it over halfway on itself, turn and fold, turn and fold, and so on until it’s shaped back close to a ball.
Flip it over and cut it in half. This recipe will make two smaller boules or one large if you’d like.
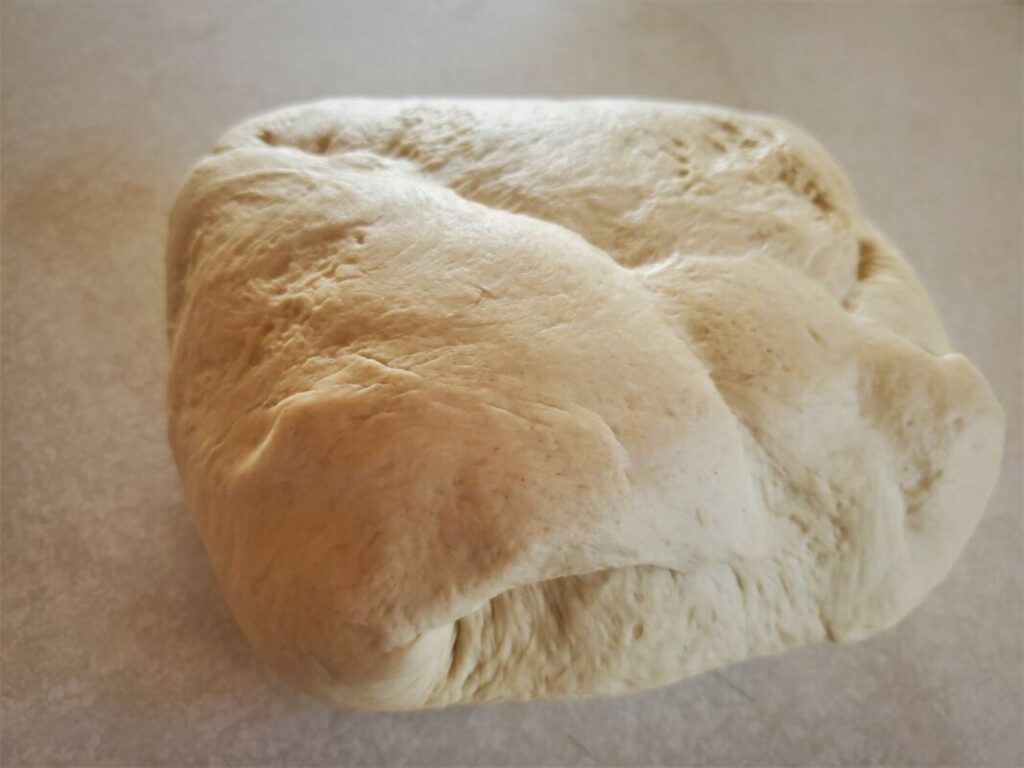
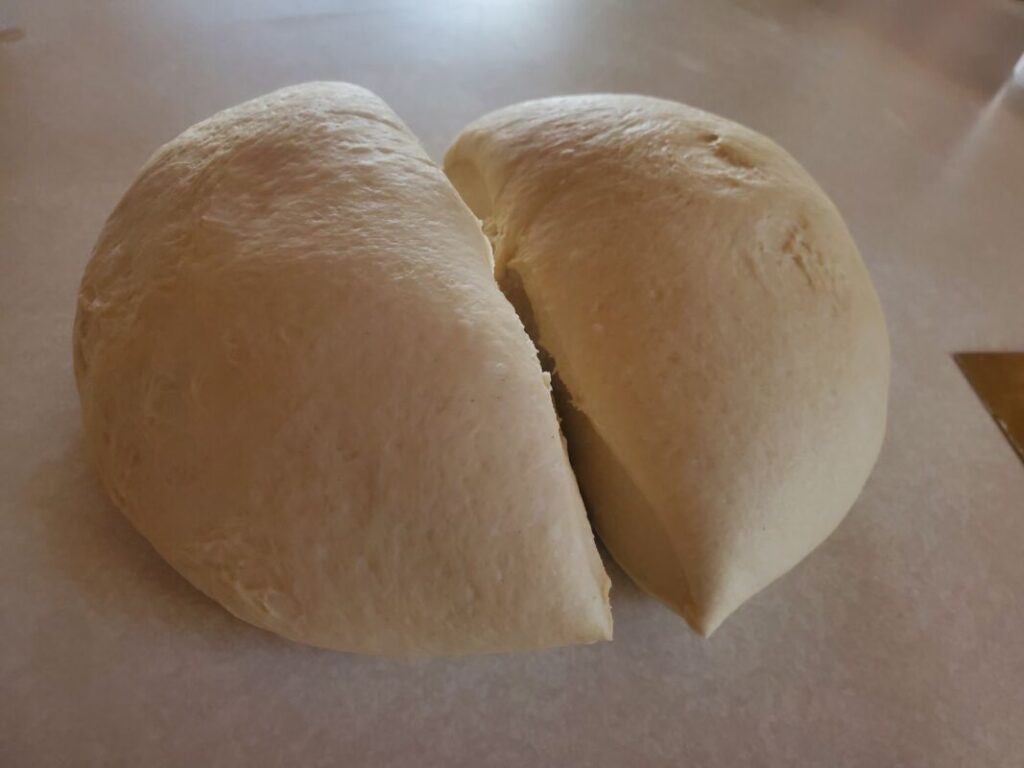
Now I round out each chunk into a ball.
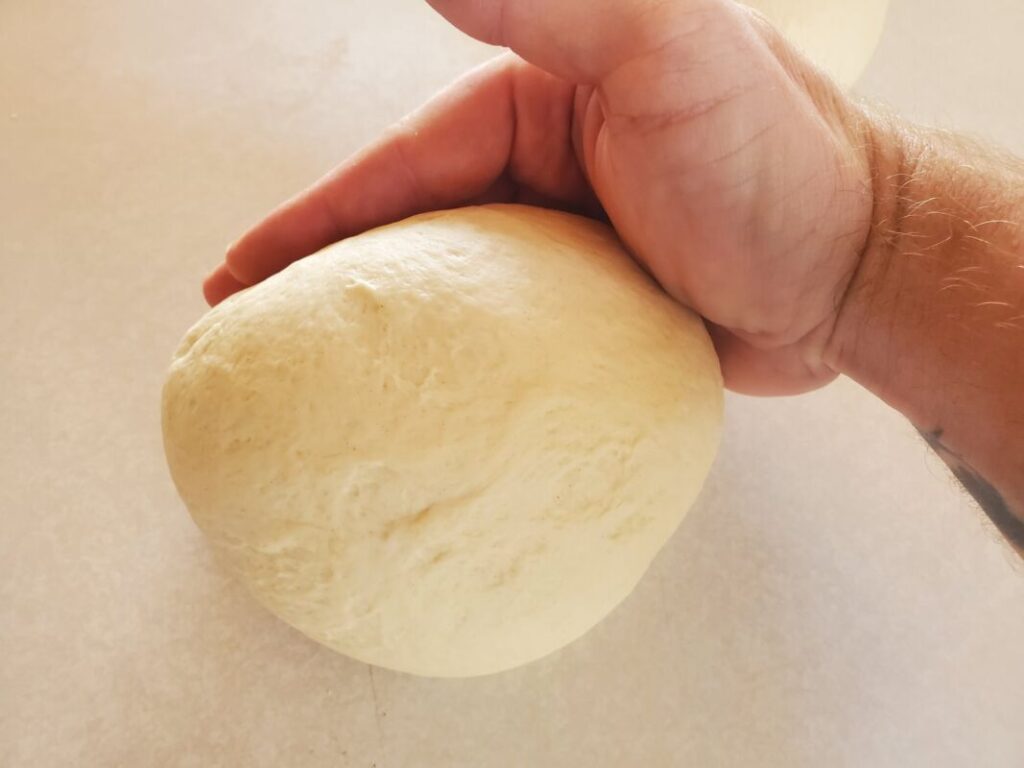
Now you need to build surface tension in each ball. Do this by dragging it back towards you on the counter. Turn it and do this for each side until it’s a nice tight ball.
The reason you do this is because it helps your loaf retain it’s shape during baking, as well as adding to the “oven spring” when it rises.
Here’s more detailed info on that process. It’s hard to explain through pictures.
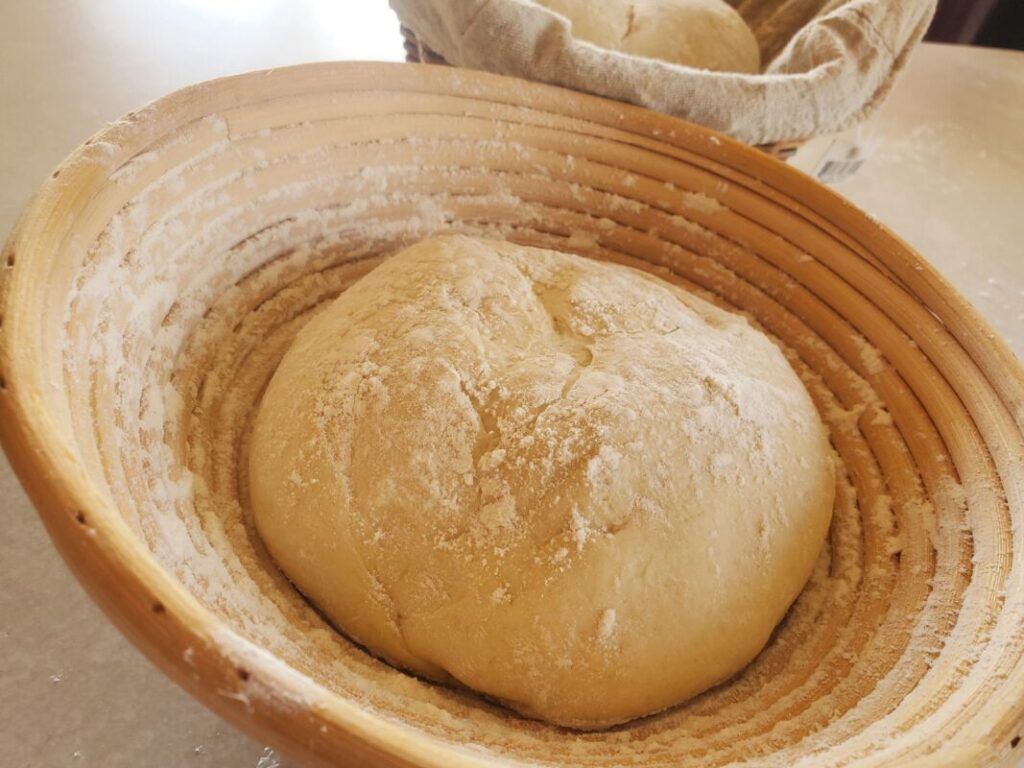
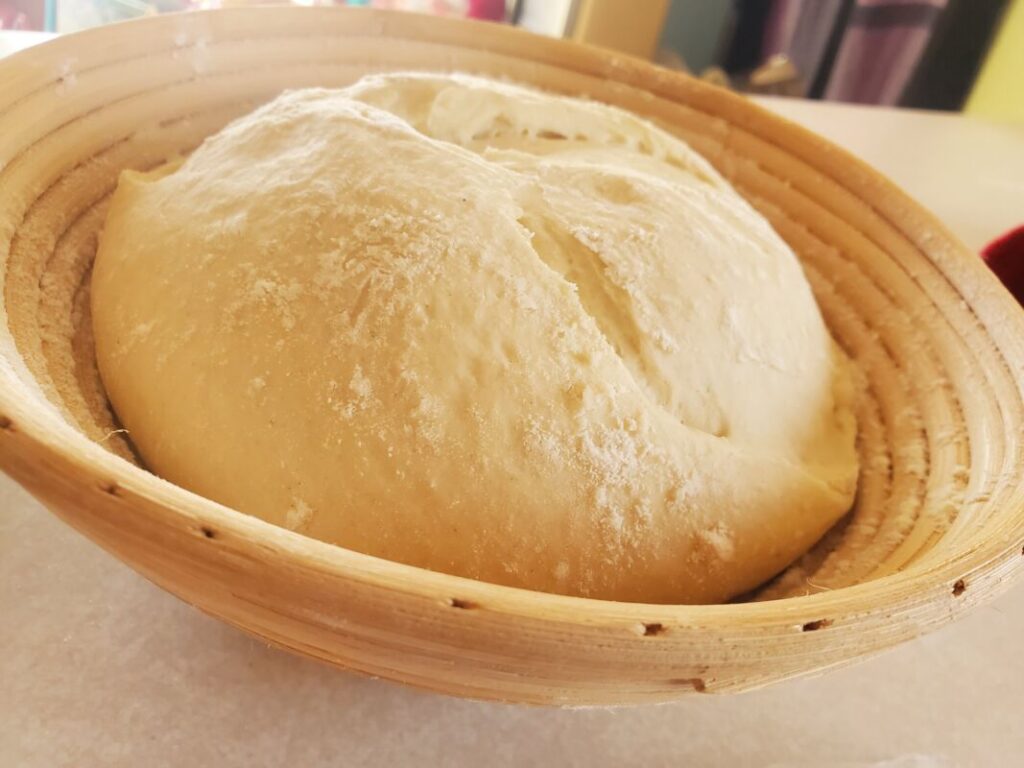
Now that our boules are ready for the final rise, go ahead and grab a bread basket. You can also use a Pyrex dish or any type of round container that is gonna help it maintain it’s shape.
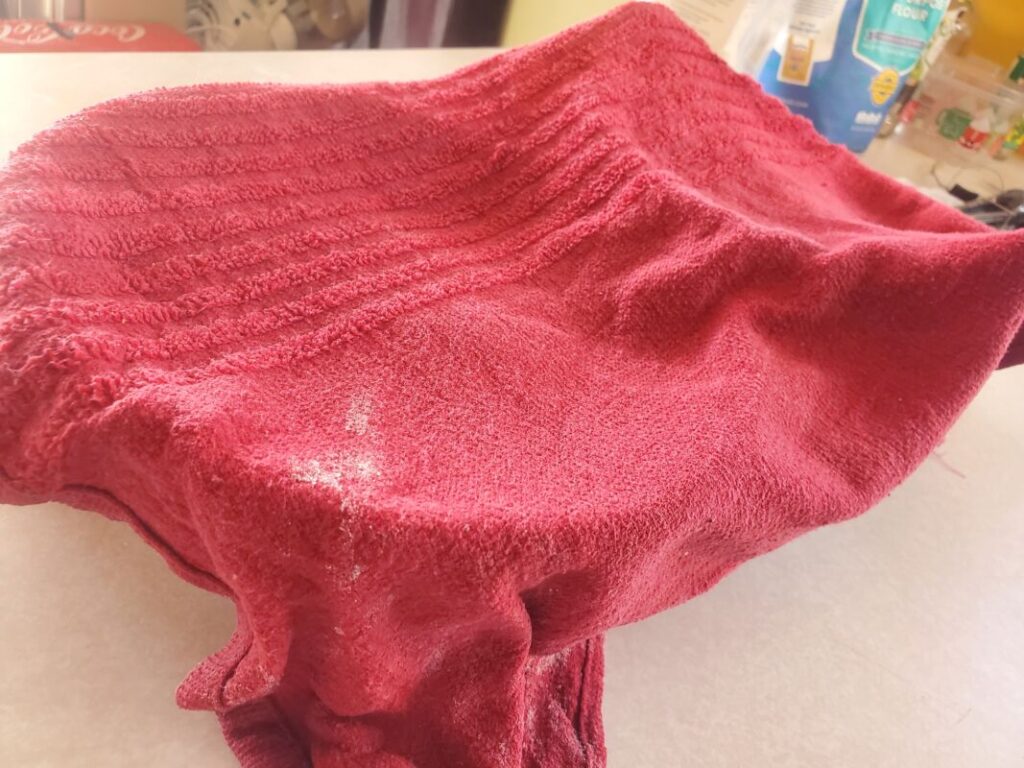
Make sure you flour the basket nicely, then place your boule UPSIDE DOWN in there. Go ahead and flour the bottom as well. Cover it with a damp towel and let it sit for about 30 minutes, or until it doubles again.
Baking Your Bread
While your bread is going through the final rise, go ahead and preheat your oven with your Dutch oven inside to 450°.
A Dutch oven with a lid works best because it will help to keep steam trapped inside while it bakes. The first 10 minutes or so is crucial to the rise (oven spring).
If you do not have a Dutch oven you can use a skillet. Just add a small pan of hot water in there when you put your bread in. That steam will help it rise up nicely, otherwise you may end up with a flatter loaf.
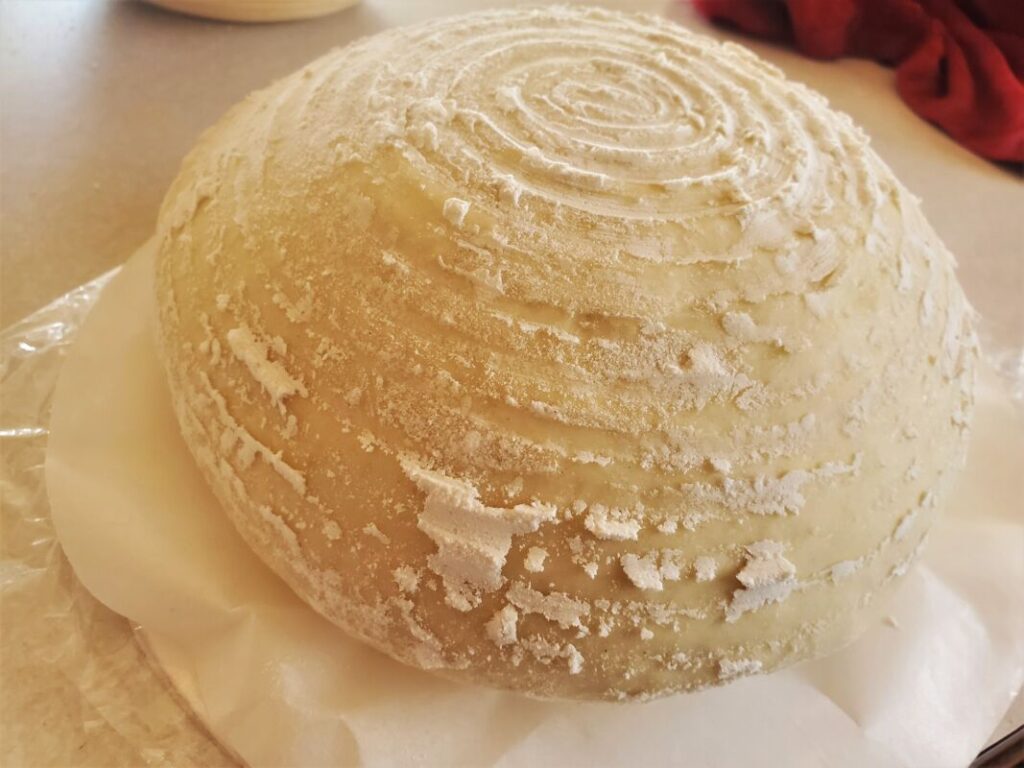
To transfer your bread to the pan, I use parchment paper. Flip your boule out of the bowl onto parchment paper. This makes it easier to drop into the Dutch oven.
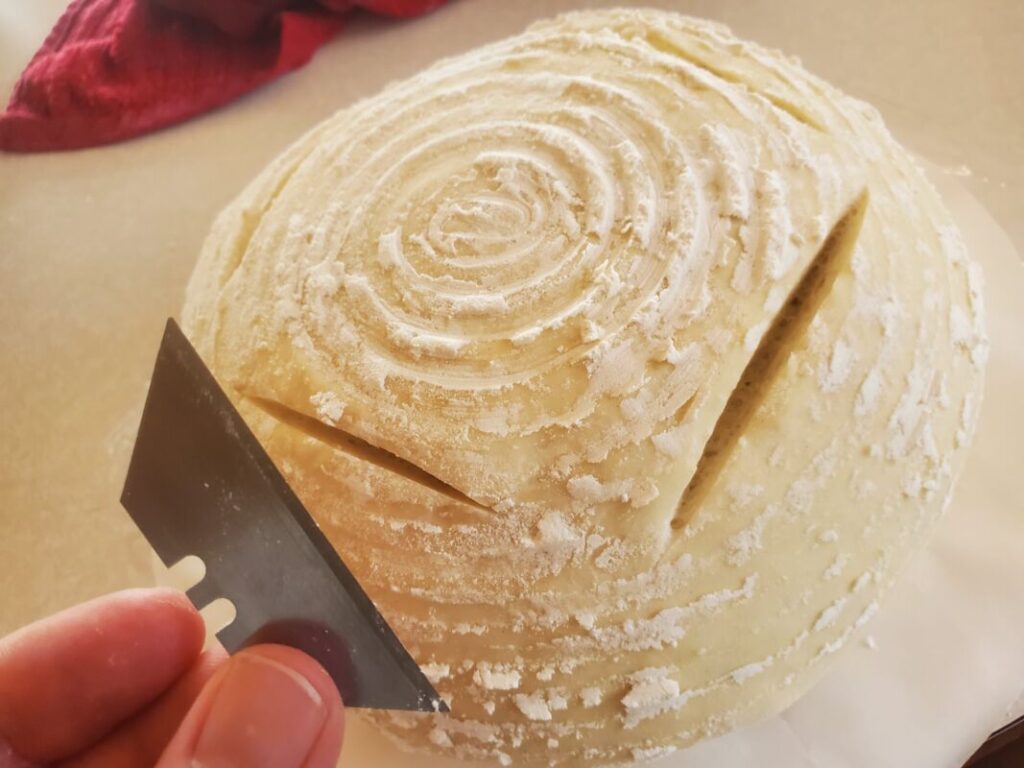
Before you do that, you need to score it though. Scoring the bread gives it an artistic touch. But more importantly you are giving the bread intentional spots to expand at. If you don’t score it the bread may bust out the sides. As your bread rises, those gases have to escape somewhere.
There are some really cool designs people do with bread. Right now I just keep it simple with 4 little slashes. Use a razor blade or something really sharp. Score it about 1/4 inch deep. Don’t be scared.
The reason I do the final proof upside down is so that when you flip your bread into the Dutch oven, it will be right side up now.
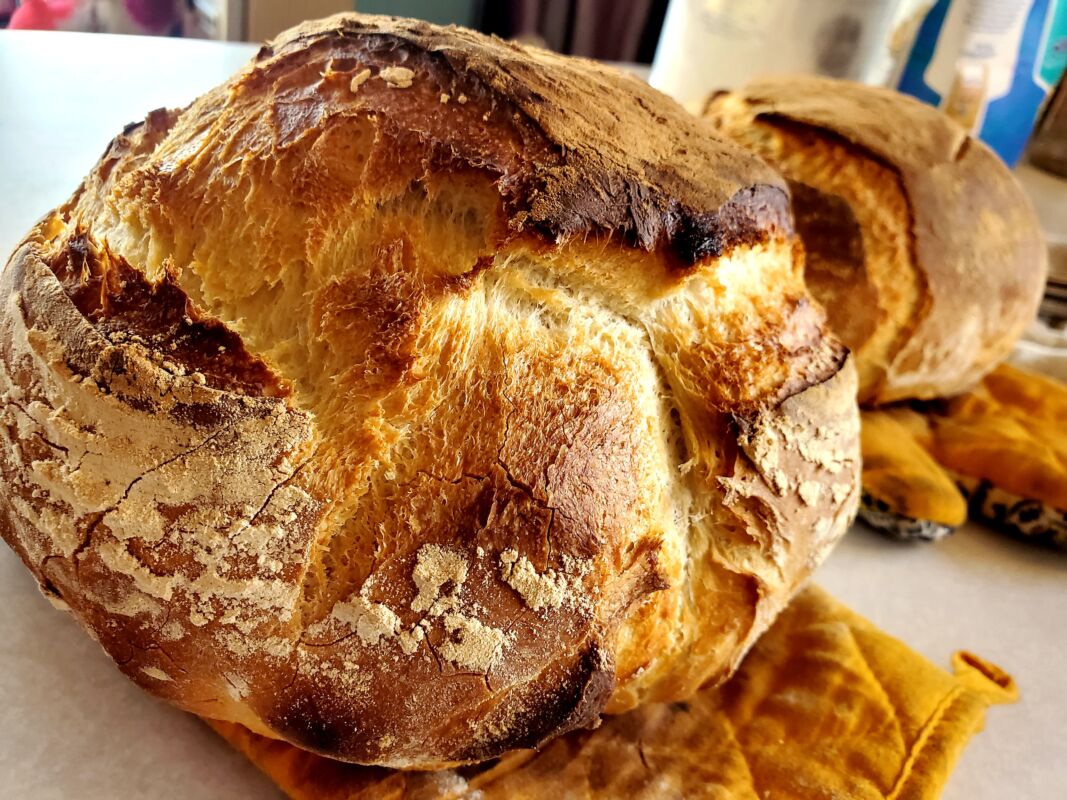
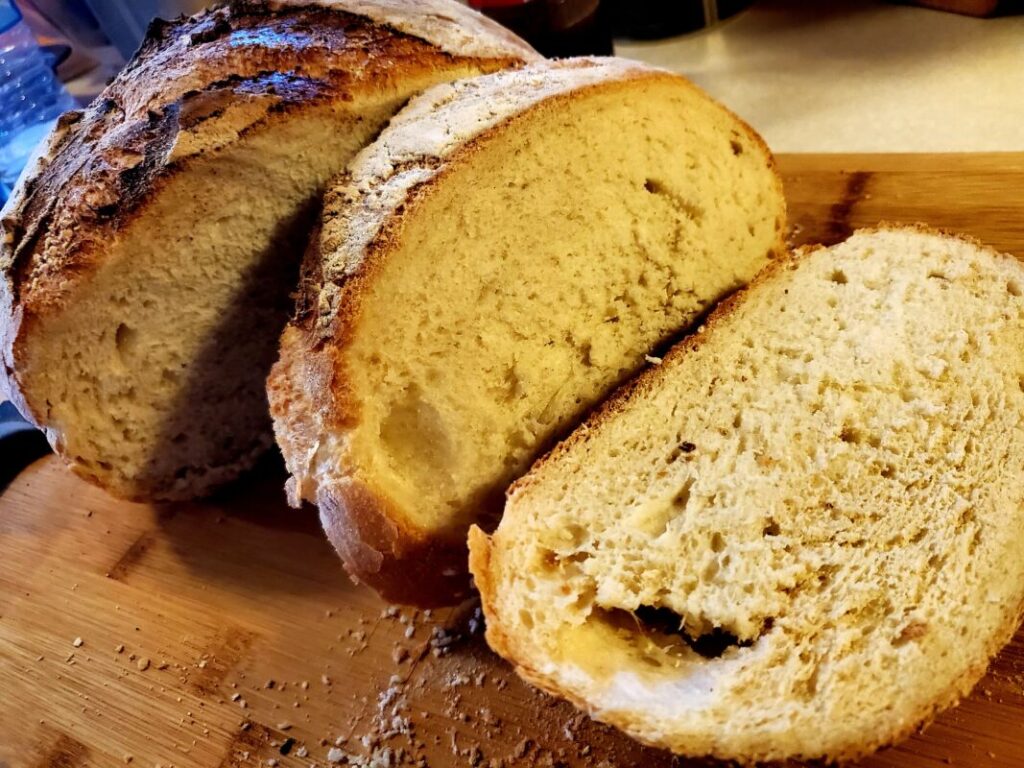
Go ahead and bake it covered at 450° for 25 minutes, then another 10 minutes uncovered. When you pull your bread out let it cool for about an hour before cutting into it. You should hear nice little cracks and pops coming from it while it rests now.
The reason to let it cool is because there is still steam inside. If you cut into it too early your bread might be a little gummy still.
Slice it up and enjoy!!!


This is another recipe I’ve been working at. I wanted to make sure I had a nice handle on it before I try to show anyone else. It’s a work in progress always. As I bake more I will update this post.