I’ve been working on my Artisan dough recipe for a year or so. The flavor is amazing.
I’ll describe more detail in an upcoming Artisan loaf recipe. But this will give you a little introduction into it, because there is much less “working the dough” involved here.
I think there are unlimited opportunities for dishes. I wanted that tangy dough taste in a wrap. So this worked out really well. Plus the stuffing opportunities are nearly endless too.
- Chicken Bacon Ranch
- Philly Cheese Steak
- BBQ Chicken & Pepper Jack
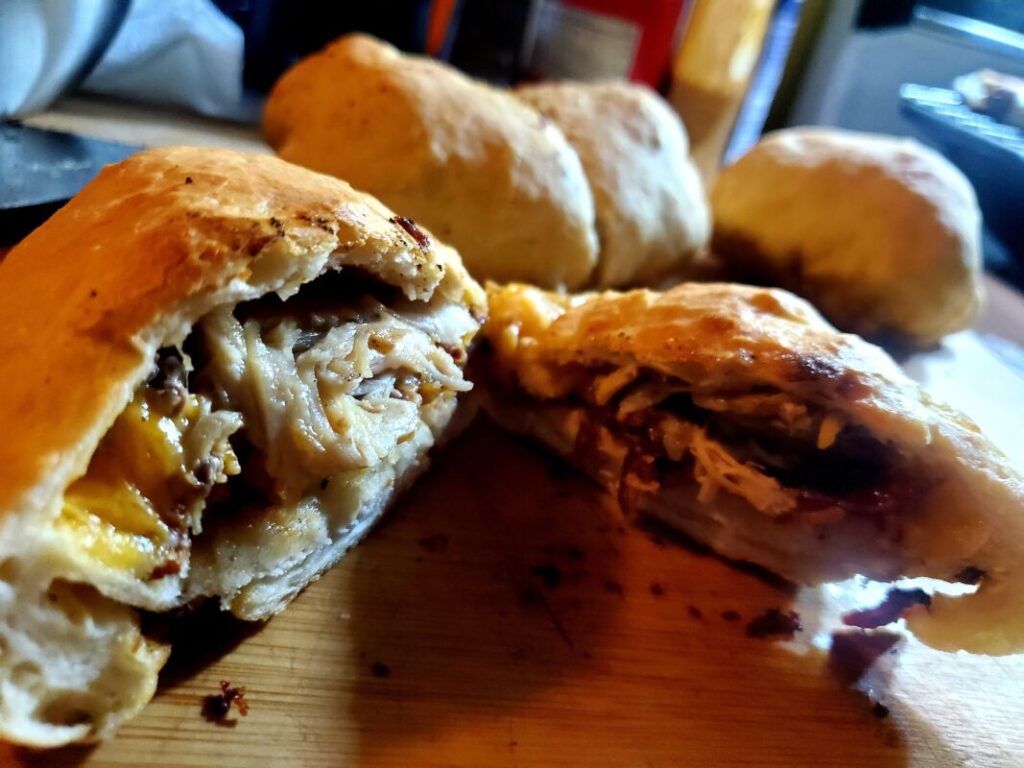
- Pulled Pork & Cheddar
- Veggie Style
I could go on and on my friends. It’s all the same process though.
Start your poolish (pre-ferment) the night before.
Make the dough the next day.
Prepare/cook your fillings while the dough is rising.
Flatten your dough, one piece at a time.
Stuff it, wrap it, and bake it in a very hot skillet.
So I will definitely go into some detail here. Don’t worry if it’s messy or not perfect. (Art)isan dough is an art. The more you do it, the better it gets. I’ve read so much on artisan doughs, and everybody has an opinion. Find out what works best for you, and run with it.
Some people break it down to a science, not me. I keep it fun, traditional, and delicious. Besides I know my great, great ancestors did not have or need a set of digital scales in their kitchen to make amazing dough.
The Poolish
You can start the poolish the evening or afternoon before. This is basically a smaller batch of pre-ferment that you are making to help kick start your “tomorrow dough”. As long as the room temp in your kitchen is 72°F or cooler, you can let your poolish go all night and day on the counter with no worries. Some people say to refrigerate overnight after a few hours of setting out. My thought is why would I want to slow my fermentation down? That’s where I’m gonna get that stretchy, chewy, tangy artisan dough that we all want. You just don’t want it sitting in a super warm environment for longer than 24 hours.
In a large mixing bowl, stir together 1 1/2 cups warm/hot water and 1/2 tspn active dry yeast. Let it sit for about 5 minutes, or until it starts to look foamy. Now mix in 2 cups of bread flour until combined nicely. It may look soupy and that’s good. Loosely cover it up and forget about it until tomorrow.
Making the dough
Go ahead and uncover your poolish. It should smell amazing and be all bubbly with tiny holes. Give it a good stir until combined. Now add 1 1/2 cups warm/hot water and 1 tspn active dry yeast. Stir the starter mix again to combine evenly.
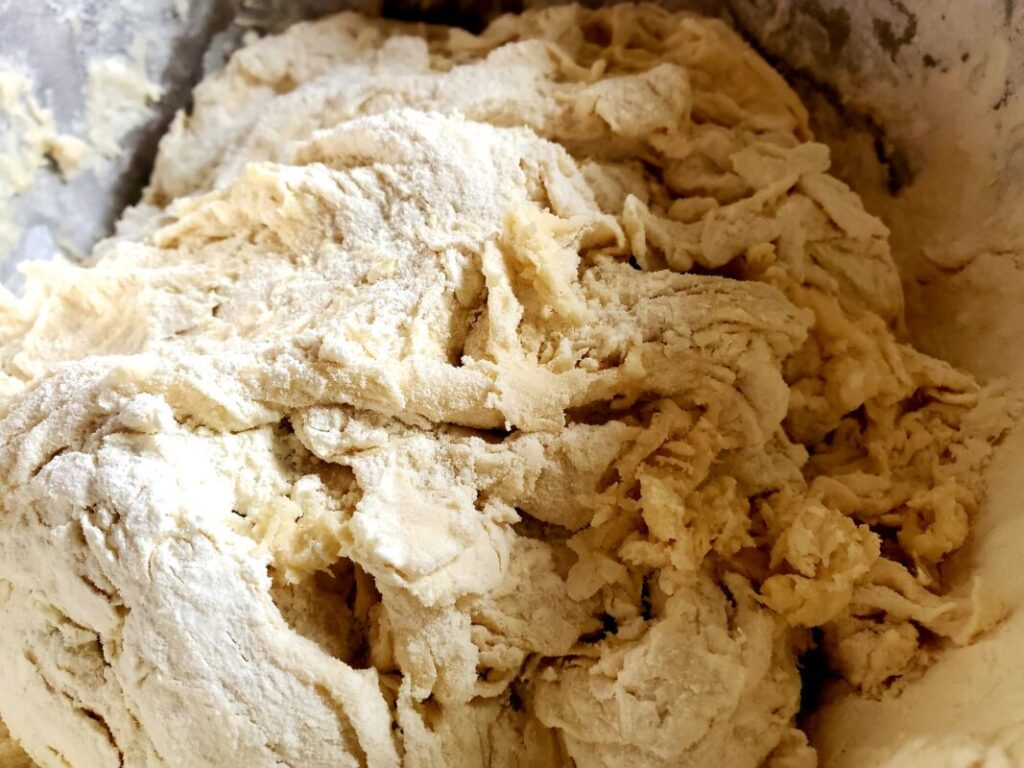
Next add 4 1/2 cups bread flour and 1 tbsp of sea salt. You’re gonna mash, squeeze and knead this big ole mess together now. I give it a good mix with my hands and let it sit for about 15 minutes. It takes flour a bit to evenly absorb the water. So it may look a little dry at first, but DON’T add anymore water, trust me.
Different flours absorb water differently as well, depending on their protein content. But that is a whole nother post.
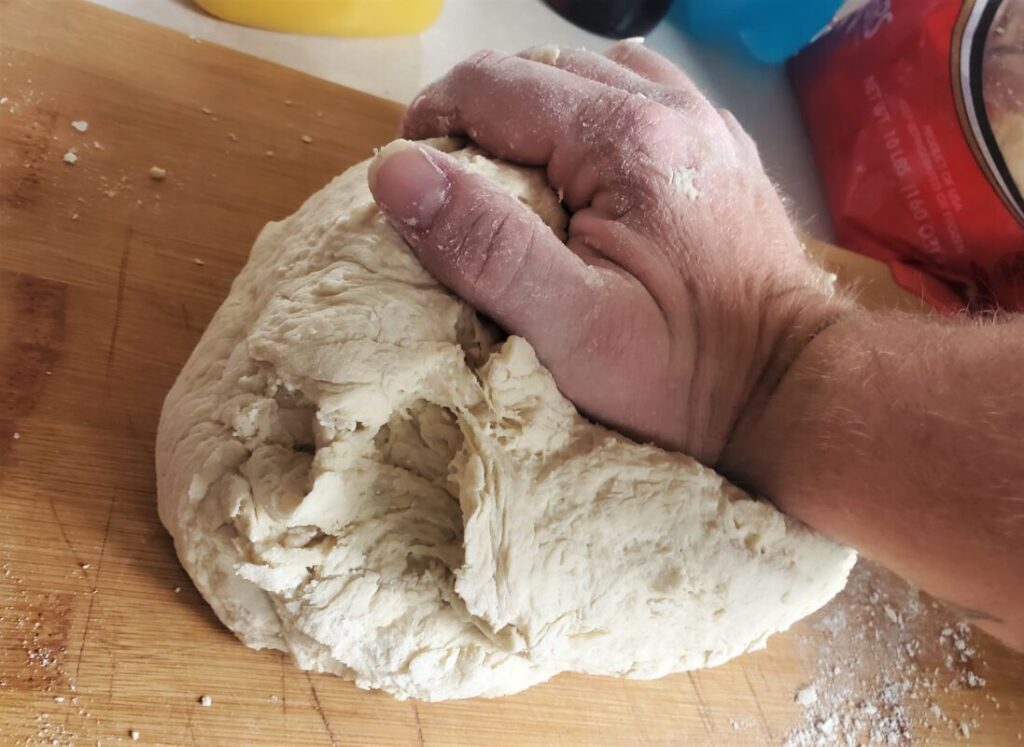
After letting it sit for a few minutes, go ahead and knead it some more. I fold, and mash, and knead until I’m satisfied. Don’t overwork it, but make sure you give it a good little beating too. You just want it to make a nice ball. This recipe is more forgiving because we are not baking a loaf this time.
When baking a loaf there is a little more to how you work the dough. You will want to create surface tension and shape it more skillfully, because you want a beautiful rise. But that is also a whole nother post.
Make sure whatever container you have is large enough to allow this to double nicely when it rises. It might be best to half it into 2 different loosely covered containers just to be safe. Forget about it for about 2 hours.
The Chicken
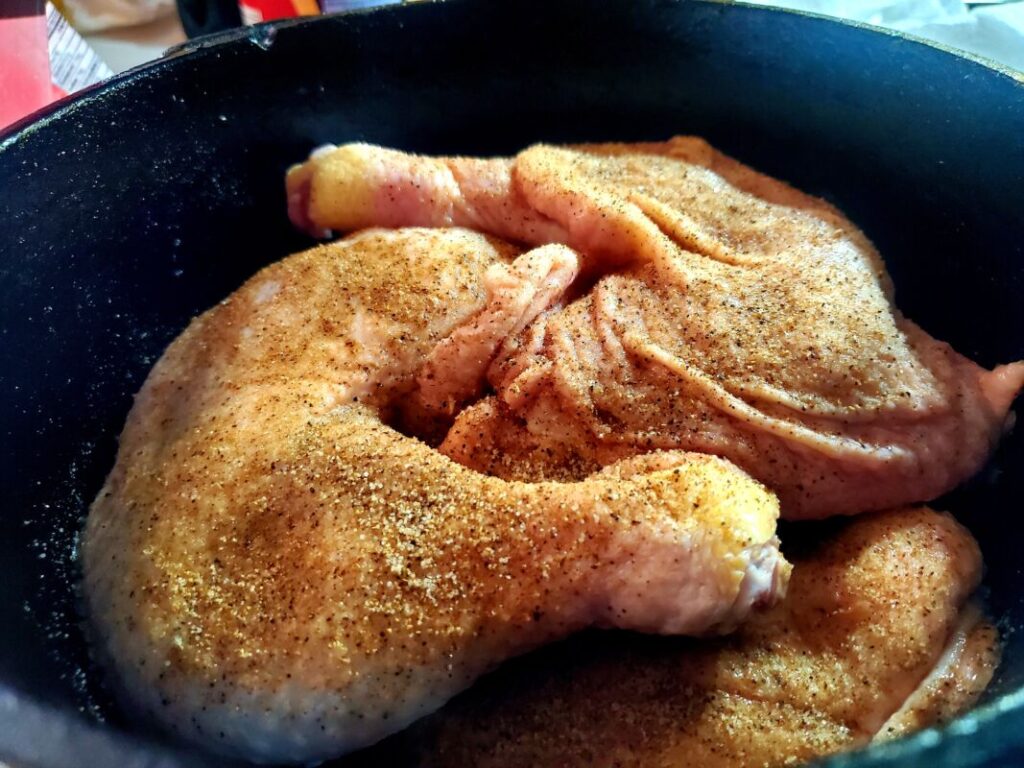
I will link you to my deliciously detailed Dutch oven chicken recipe!
Make sure you shred it up nicely by hand to avoid even the tiniest of bones. My Dutch oven chicken falls off the bone pretty easily though. I used about 4-5 pounds of chicken for this recipe.
Once it’s shredded, I toss it back in the drippings and cover it until I’m ready for it.
The Bacon
Unfortunately I did not get a pic of that bacon cooking. I cooked 16 ounces, then chopped them up into pieces.
If you wanted to use store bought bacon pieces, they would work too.
Assembling These Babies
You will want to have all your fillings prepared for easy access, like a little assembly line.
- shredded chicken in a bowl
- chopped bacon pieces in another bowl
- whatever flavor Ranch dressing you desire
- and cheeeeeese!!!
Before you start messing with that dough, go ahead and preheat your oven to 450°F. Place a seasoned cast iron skillet in there while it preheats. You will want to place these in a very hot skillet and straight into that hot oven. So I only prepare what I can cook at a time. You’ll find your own rhythm.
For this dough I tear a little chunk off at a time (about a 3 inch ball) and keep the rest of it covered.
Give them a little smash in your palm to flatten. Then starting in the center using your finger tips, gently push out while turning the dough, working your fingers out towards the edge as it stretches. You wanna be flattening it out and letting gravity stretch it as you turn it clockwise or counterclockwise (whichever direction works for you).
Be careful not to stretch a hole in it. If you do, it’s okay, just lay it flat and pinch it back together. You wanna get it about 6 inches in diameter and 1/4 inch or so, because these will fluff up a little.
It’s very similar to my frybread recipe.
Go ahead and put all your fillings on there.

This dough should stretch pretty easy, just don’t get crazy with it. Fold 2 sides, then fold the other two over that. Go ahead and lay it (fold side down) in your hot skillet from the oven.
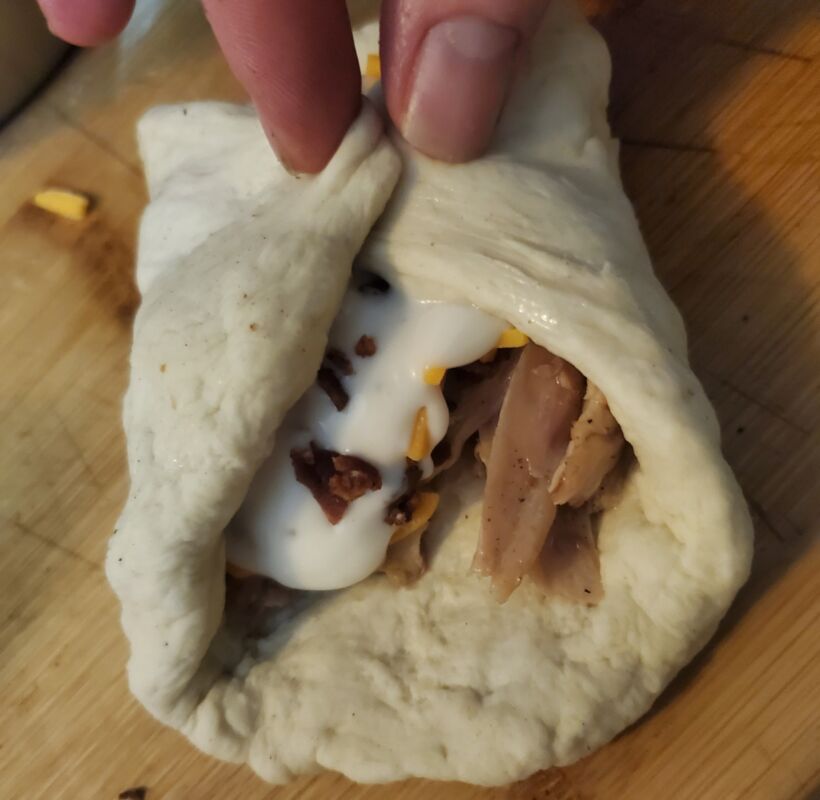
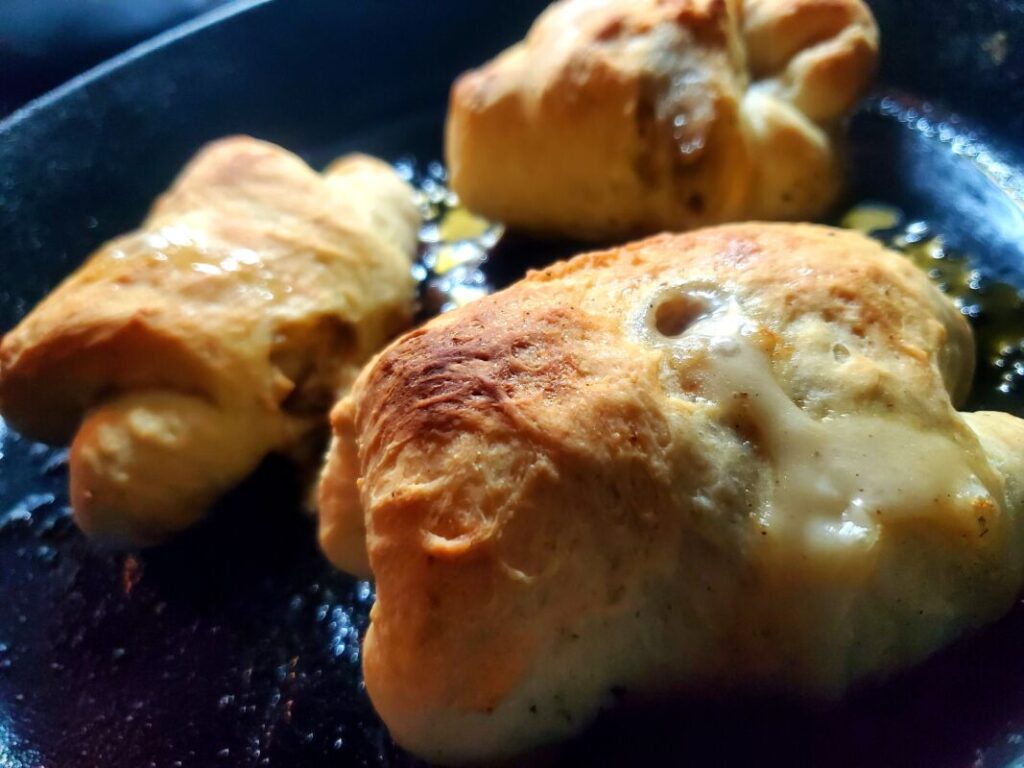
You should be able to make 2-3 at a time depending on the size of your skillet. Pop them in the oven for about 15 minutes, or until browned nicely on top. Let them cool on a rack while you do the next ones.
They get better each time. I hope y’all enjoy these as much as I did!
